![]() Data entry from within CAP
Data entry from within CAP
|
|
Top Previous Next |
|
Data sets can be created and edited within CAP, by creating a blank grid, and either typing in each individual data point by hand, or by copying/pasting the data from elsewhere into the grid. Here, we look at entering data by hand.
The process of entering data is: 1. Create a new data set 2. Add row and column titles 3. Enter data (before or after creating the row/column titles, it's not really important) 4. Transfer the data set to Working Data 5. Save the data file 6. If you wish, add grouping information.
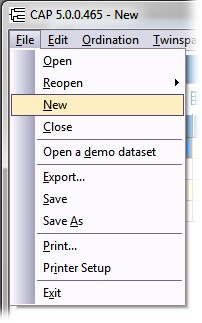
1. To create a new data set, select File: New from the top menu bar:
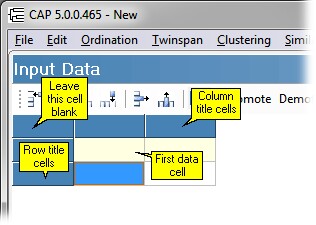
You are presented with a 3 x 3 grid in which the top blue row represents samples, and the left blue column represents variables (e.g. species):
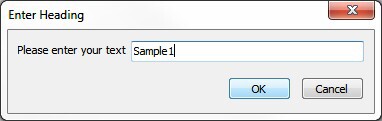
2. Row and column titles To enter column and row titles, double click on the dark blue title cells and enter the cell title into the dialog box that appears:
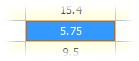
3. Entering data Leave the top left-hand cell empty. To input data, just click into a cell and type a number. Numbers can be either integer or real; some methods may require integers, but in most such cases the program will run with real data which will be automatically rounded.
Pressing the return key moves you sequentially down each column. To type in a column of values just type a number into the top data cell of the column and then press Enter on your keyboard to move into the next cell down.
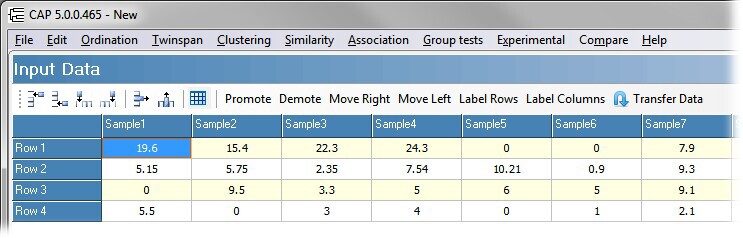
Above the empty grid is the data input toolbar:
From left to right, the tool bar buttons are: Insert row above selected cell Insert row below selected cell Insert column to left of selected cell Insert column to right of selected cell Delete selected row Delete selected column Resize grid Promote - first data row to title row Demote - title row to first data row Move Right - Insert column to left of entire block of data (i.e. add a column of row header cells). Move Left - Remove row header column from left of entire block of data Label Rows - add labels (Row1, Row2, etc) to the row headers column. Label Columns - add labels (Column1, Column2, etc) to the column headers row. Transfer Data - when you have finished adding your data, you must click this to send the data set to the Working Data grid, before you can carry out any analyses.
4. Transfer the data to the Working Data grid. When you've finished entering your data, you will have a grid that looks something like this:
Now, click the Transfer Data button to move the data set to the Working Data grid. Alternatively, click on the Working Data tab at the bottom of the program window, and click on the Reload Raw Data button. The data set is now ready for use in the program.
5. Save your data set. Before you go any further, save your precious data. Click File: Save, choose a name for the data file
6. Add grouping information if necessary.
Another way to add rows and columns to the data grid To add a new row, click into a cell in the bottom row of the grid, and press the Down arrow on your keyboard. To add a new column, click on the bottom right-hand cell in the grid and press Enter on your keyboard.
To remove a row, click on a cell in that row, and press the Delete key on your keyboard. Make sure that the cell itself is selected, not the value it contains:
Selected cell: Selected value: You should note that once a row has been deleted, the Undo function will not restore that row.
See also: Creating a data grid of a certain size |