![]() Copying and pasting data
Copying and pasting data
|
|
Top Previous Next |
|
You can use standard Copy and Paste Windows techniques to move data into CAP. The following example shows how to copy and paste from Excel.
The process is as follows: 1. Select and copy the data from its source 2. Create an empty data set in CAP 3. Paste the data into the grid in CAP, align the row and column titles, or add title information 4. Transfer the data set to the Working Data grid 5. Save your data set 6. Add grouping information (if required).
1. Select and copy the data in your Excel spreadsheet:
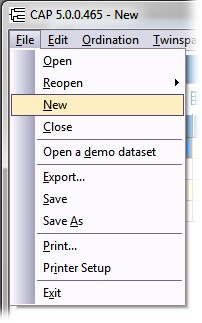
2. Open CAP and select File: New from the drop-down menus:
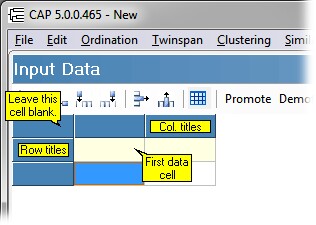
You are presented with a 3 x 3 grid in which the top blue row represents sites or samples, and the left blue column represents variables (e.g. species):
3. Click on the first data cell (not the top left cell) in the grid. i. If the data you are pasting in already include Row and Column titles, click Edit: Paste data (with titles). The data will be pasted into the grid; the program will automatically add the required number of rows and columns to the grid, and the row/column titles will be placed in the blue title cells:
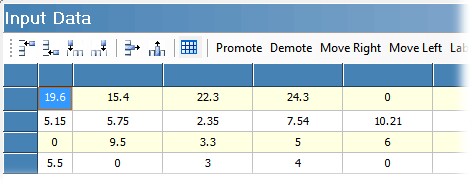
ii. If your data do not include row & column titles, click Edit: Paste data (no titles), or press Ctrl-V on your keyboard. The data will be pasted into the grid; the program will automatically add the required number of rows and columns to the grid, but the title cells will remain blank:
Now, either click the Label Rows and Label Columns buttons to add a generic title to each, or double-click into each row and column title cell to add your own titles.
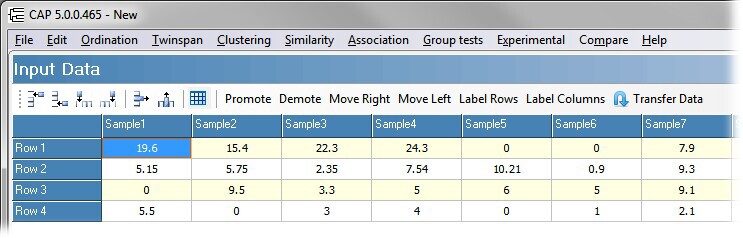
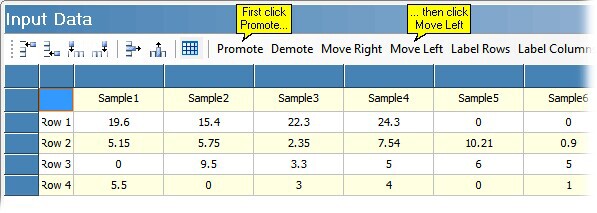
iii. If by accident you use Paste data (no title) or Ctrl-V with data containing row and column titles (image below), you then need to move them in to the correct position. Click first the Promote and then the Move left buttons on the tool bar above the data grid, to move the titles into the correct place:
If you paste data with no title information using Paste data (with titles), so that data appear in the title rows, then click the Demote and Move Right buttons, to move the data into the correct place.
4. Now, click the Transfer Data button, to move the data set to the Working Data grid. If you prefer, click on the Working Data tab at the bottom of the program window, and click on the Reload Raw Data button. The data set is now ready for use in the program.
5. Save your data. Click File: Save, and choose a file name and location.
6. If necessary, add grouping information to the data set.
See also: Creating a data grid of a certain size Importing data from Excel or other spreadsheet programs
|